Wireless Network Projection
Wireless Network Projection is available with many of the projectors in the academic classroom spaces on campus using the Epson iProjection software. Instructions on using installing/using the software and projecting from your laptop are available below.
Installing Epson iProjection
- Access the Epson Support website at: https://epson.com/Support/wa00723
- Scroll down and select the download for your device.
- Locate the Epson installer file in your downloads folder and run the file.
- Follow the prompts to complete the default installation.
Wireless Network Projection
- Power on the projector using either the control panel on the wall or the remote control.
- When the projector is on, change the input to the LAN option.
- If using the wall panel. There should be a button with LAN written on it or a light bulb icon.
- If using a remote. The LAN button is located on the top right side of the remote.
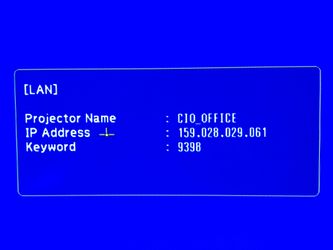
- The projector should display a settings screen containing the Projector Name, IP Address, and Keyword. If the IP address does not start with 159.28.29. then notify ITS. There is an issue with the projector connecting to the network.
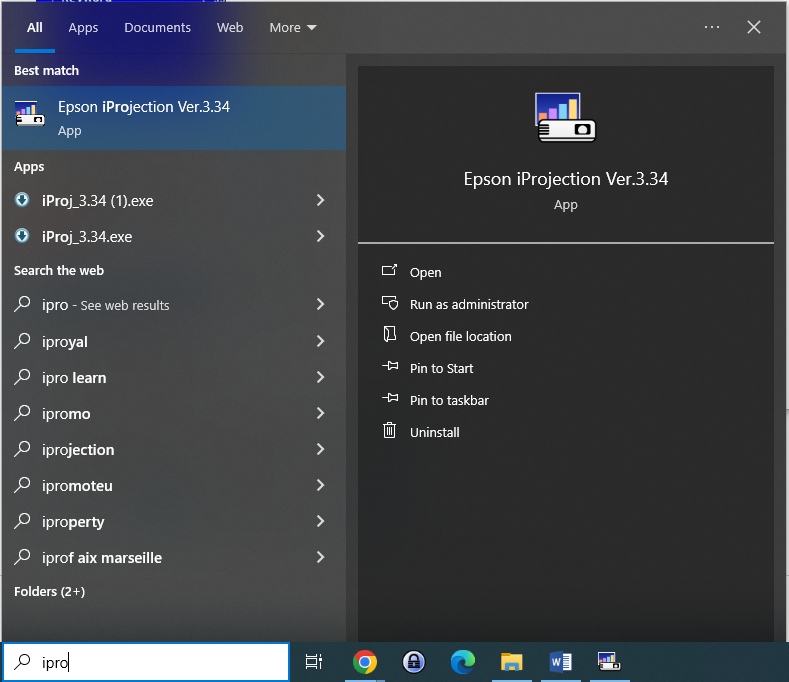
- Start the Epson iProjection program.
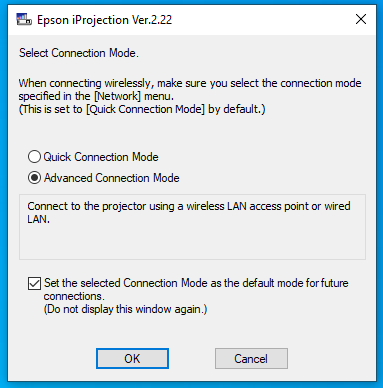
- Select Advanced Connection Mode when the program starts and click OK.
- Click Manual search to enter the information from your projector and Enter the IP Address that is currently displayed from the projector settings screen.
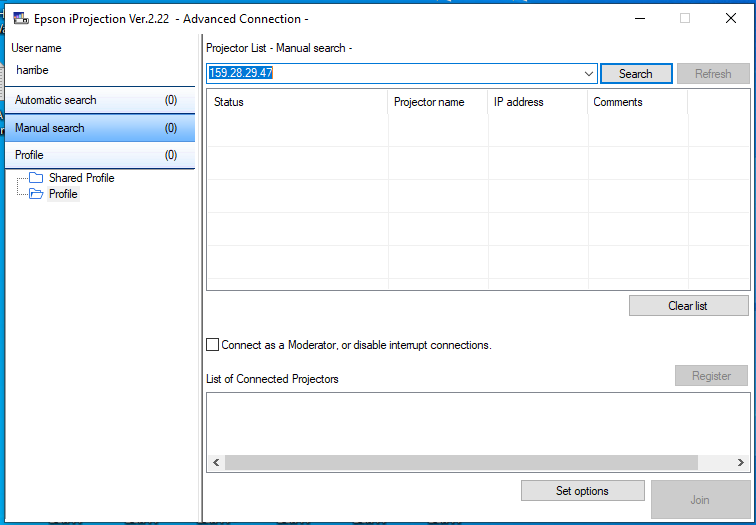
- The projector should appear in the list of available units to connect to. If there are multiple projectors in the room that you wish to connect to, add each IP address.
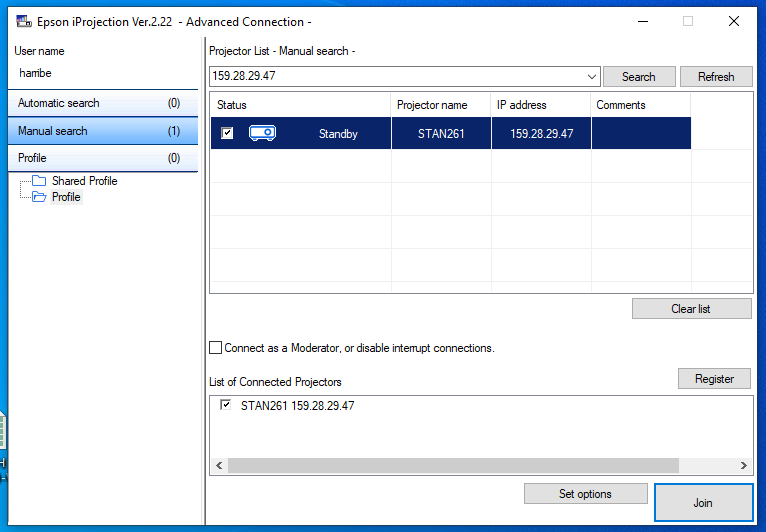
- Select the projector(s) from the list and click the Connect button.
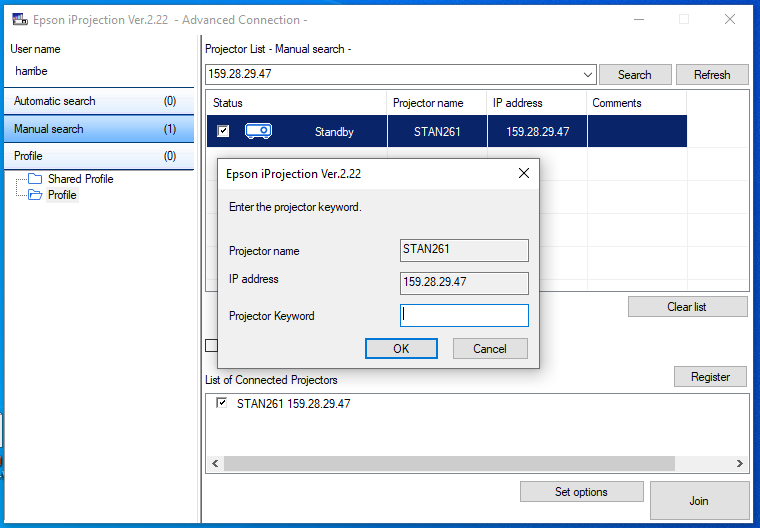
- You will be prompted to enter the Keyword from the projector settings screen to complete the connection. Enter the 4 digit code and click OK. When connecting to multiple projectors note the name of the projector to ensure that the correct keyword is entered for each projector.
- You should see your computer screen start appear on the projector. A toolbar with projection options will also be available on your desktop.

- When completed, select the Disconnect button.

- Be sure to turn off the projector from the wall control panel or remote control when you are finished.
, multiple selections available,